The first thing I must say is if you live somewhere warm or where it is or possibly will be hot before/on halloween this may not be the scene for you. I built this a week before halloween not thinking that living in Nebraska the weather changes every 2 seconds, usually it is cold. A couple of days before halloween it got pretty warm/hot 70's and one day 80's so the pvc I used to make the tunnel warped with the heat, almost collapsing the whole thing. Luckily I was able to hold the thing together and even though it was really warped and bent it actually added to the effect of the tunnel!
For the construction I used
17 10ft tall 1/2" pvc
12 pieces of rebar
One large roll of black plastic
Duct Tape
Flourscent Spray Paint (all the colors I could find)
Black Spray Paint
2 strobing blacklight fixtures (I got mine at spencers)
2 1/2" "T" pvc connectors
4 1/2" "+" for way pvc connectors
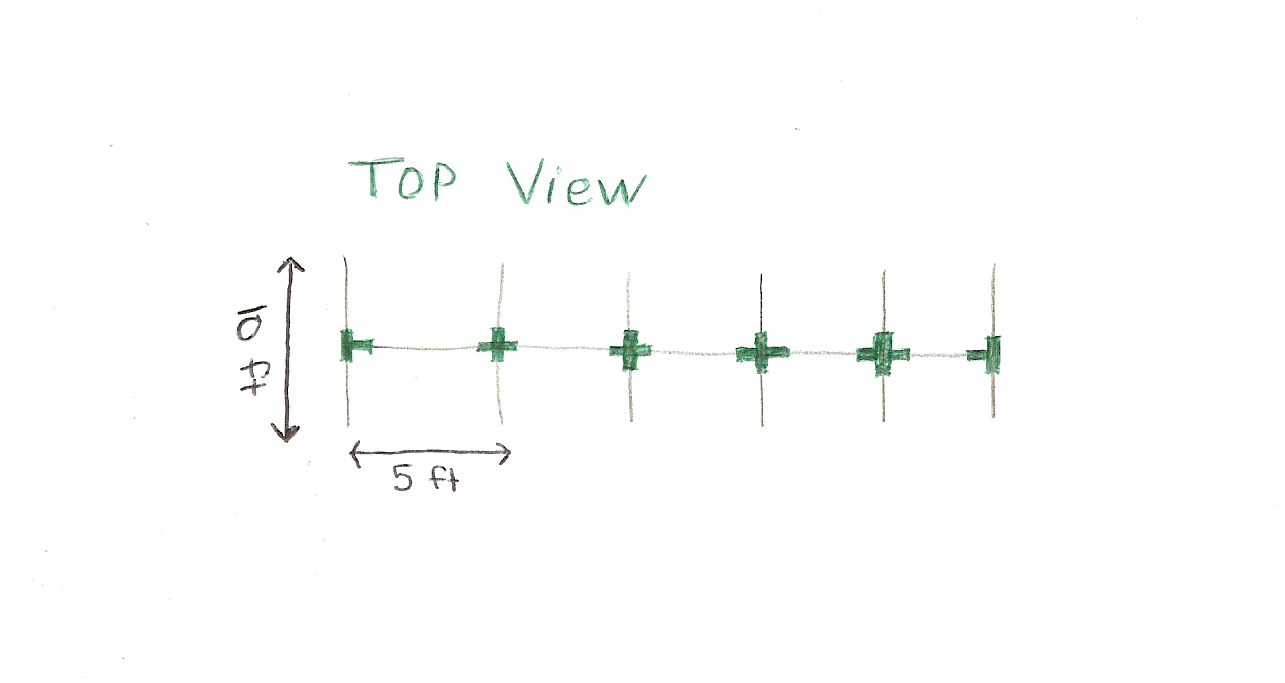
First, I would mark out on the ground (using spray paint) how wide you want your tunnel I believe mine was 10ft wide. Then mark how far apart you want your pvc pieces length wise (this will determine the overall length of your tunnel)If I remember correctly mine were 5 ft appart.
Once you have all your spots marked pound a piece of rebar into each spot.
Then put one of the 12 pieces of pvc over each piece of rebar.
Next, using the connectors, connect each pair of pvc.
Look at the drawing to see how the 10ft pvc and the connectors go together, remember when putting the pvc pieces together to use pvc primer and pvc cement for a permant hold. Use in a well ventalated area, the fumes are strong and flameable!
For the remaining 5 pieces, if you decided to have your pvc pieces length wise 5ft appart then you will need those 5 pvc pieces to be 5 ft long. These will go on the top to connect your pairs together and complete the frame for your tunnel.
After your frame is complete, unfold your large roll of black plastic and cover your frame. Making sure you have an extra 2 feet on each side to put bricks on to help hold the sides on. Also, completely cover the entrance and exit ends of the tunnel again, with 2 feet extra to secure down with bricks. Use duct tape to tape the pvc to the plastic from the inside. Do this all over for maxium hold.
On the entrance and exit sides. Measure out how wide you want the doorway to be and put rebar in those spots. Cut the top of your doorway first, then cut down the MIDDLE of the two rebar. You will have a cut in a T shape. Take each side and roll up and as soon as your close enough to the rebar, wrap it around the rebar and tape it with the duct tape.
If you would like your doorways covered so you can't see in until you get there, take another couple of pieces of black plastic large enough to cover each doorway and cut into strips then staple or tape them to the top of the doorway.
Take your strobing blacklight fixtures and take the blacklight tube out. Using the duct tape, securely tape the fixture to one of the top pvc in your tunnel, remember to place them a little bit apart but not up against each end. Make sure you are able to reach your electrical soure to plug them in. Once in place, put the blacklight tube back in the fixture.
With the black spray paint, paint all of the pvc on the inside of your tunnel and the duct tape as well to make it invisable.
Next is the fun part.
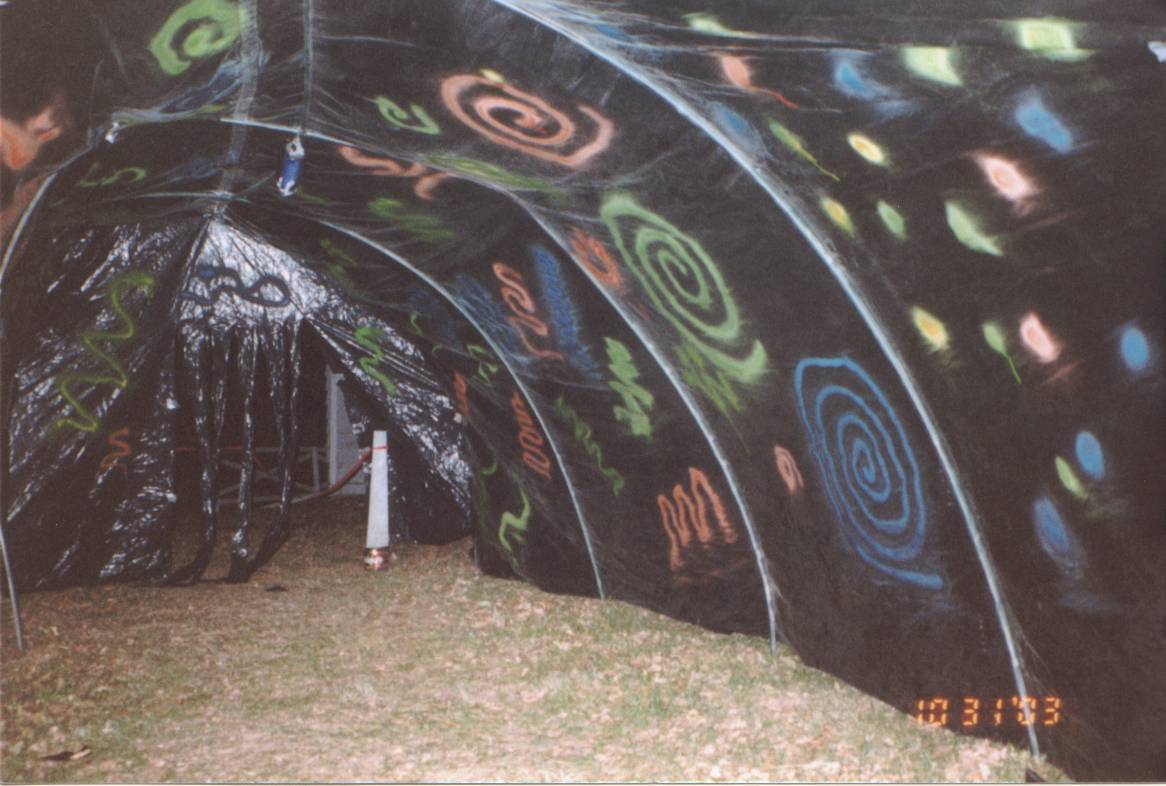
Grab your flourscent spray paint. Spray what ever designs you would like to have in your tunnel, lines, spots, squigles, etc. If you would like to have squares, stars, skulls, etc. take a piece of cardboard and cut the design out then use it as a stencil. You can also buy flourscent stickers and use those too.
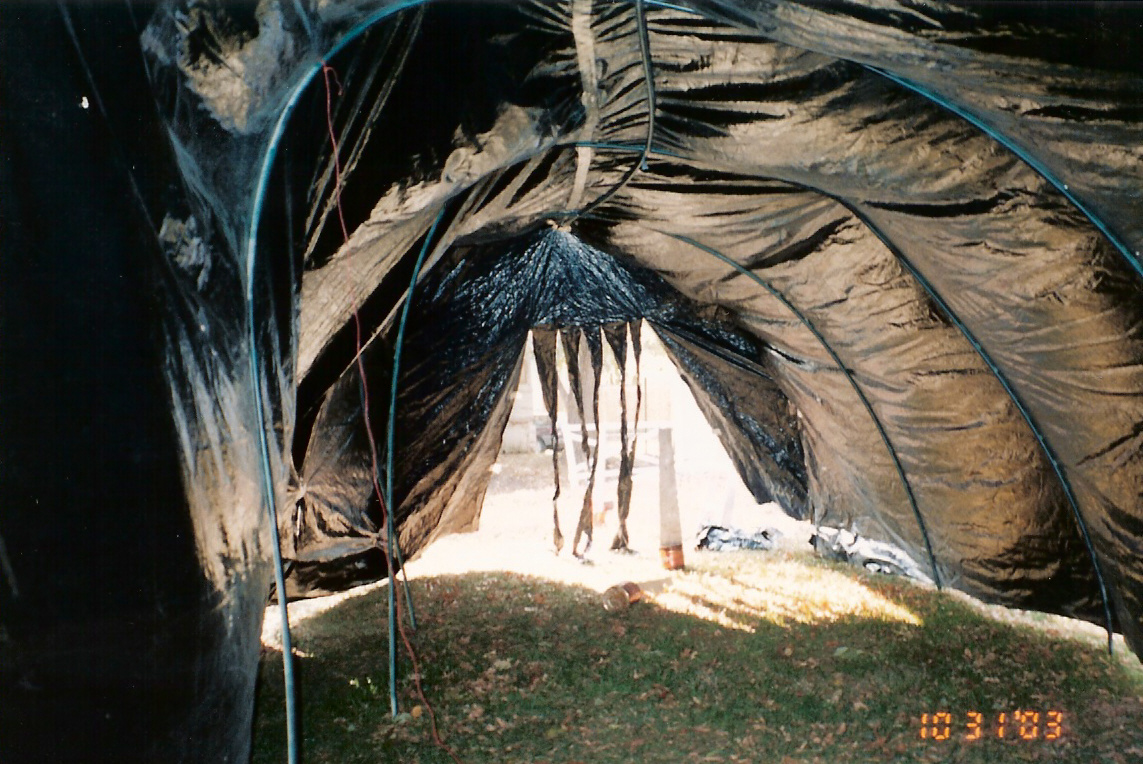
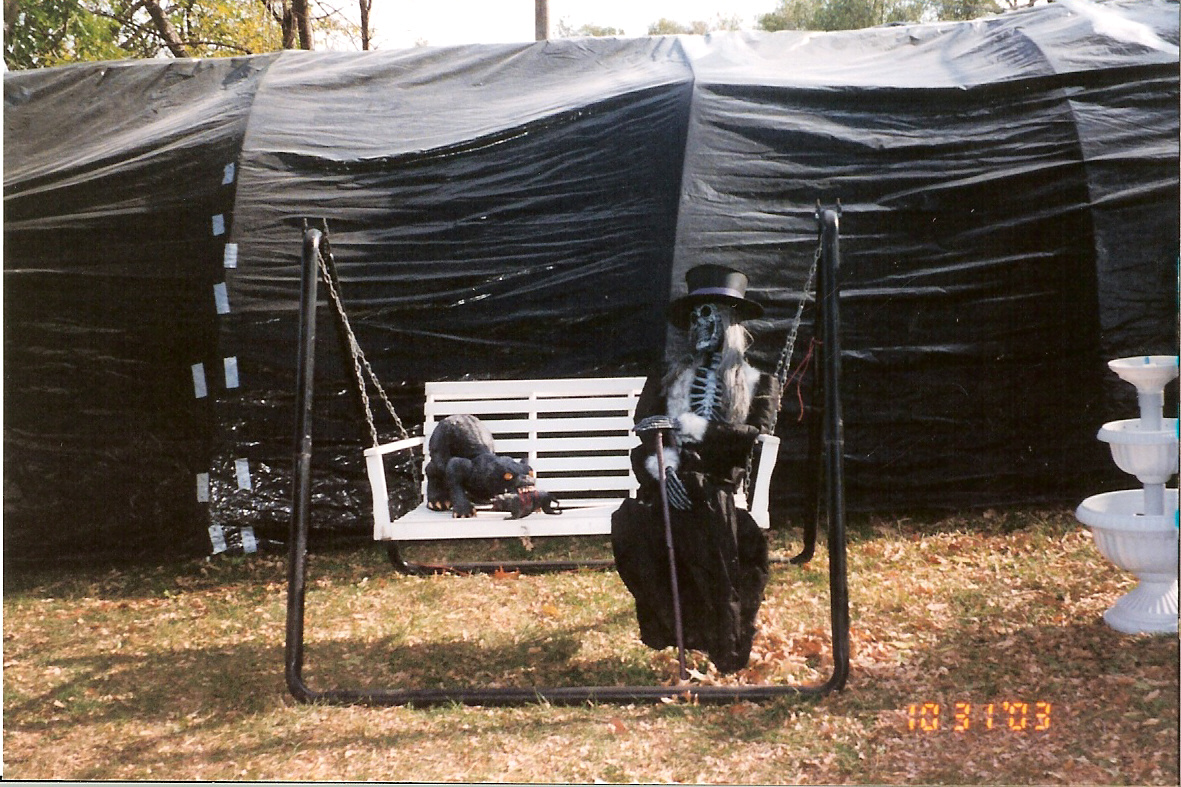
Here are some pictures of the blacklight tunnel I made in 2003.